EE-3 Blaster Rifle
Process
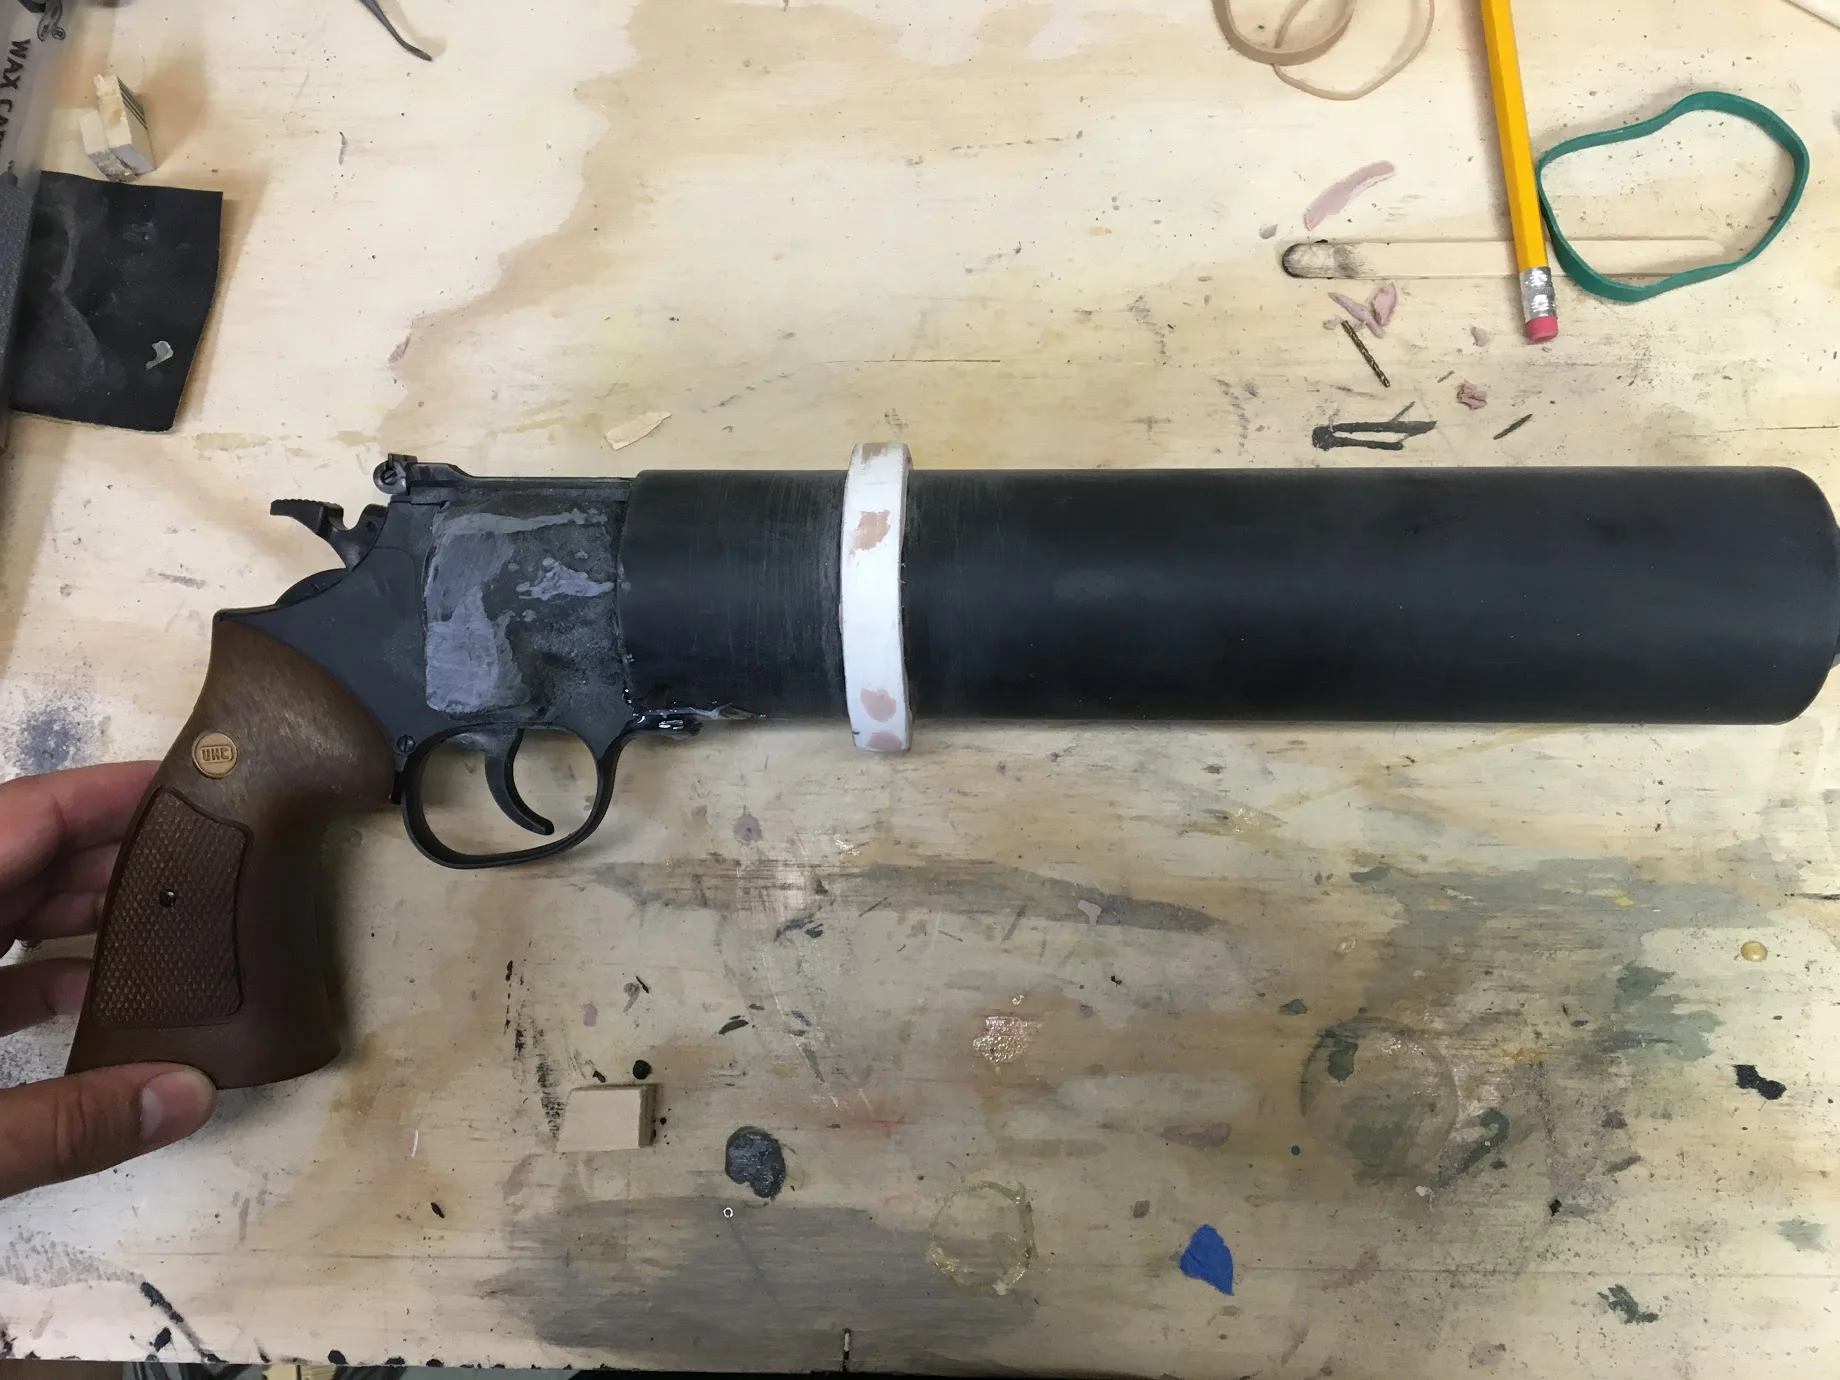
I started off with an airsoft revolver and a PVC pipe. Using Apoxy Sculpt I built up the area around the cylinders and started blocking out the barrel sections.
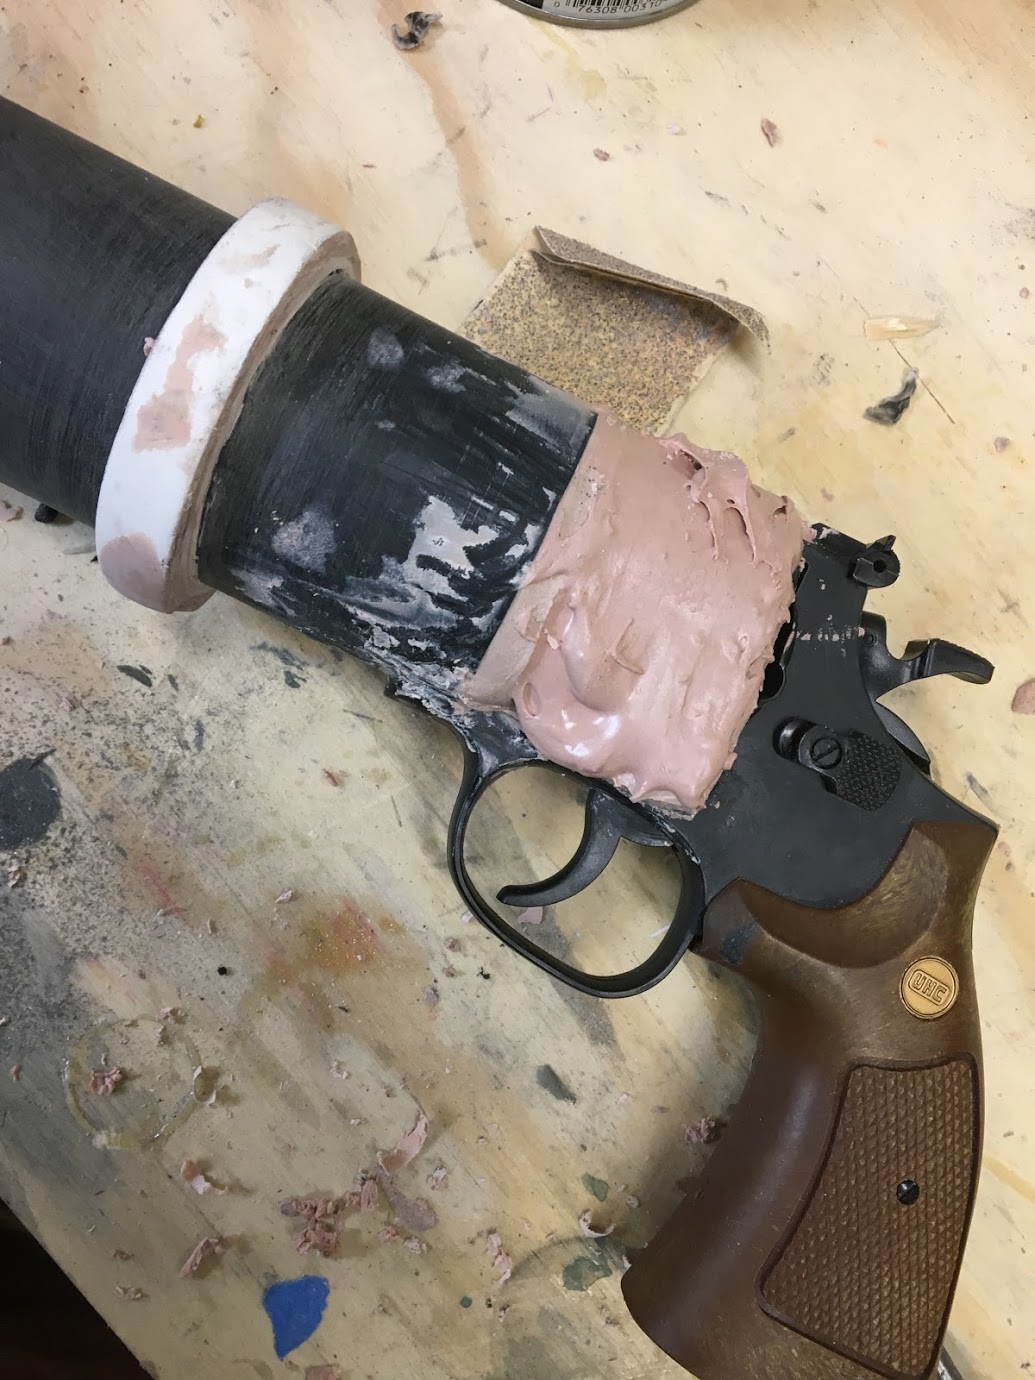
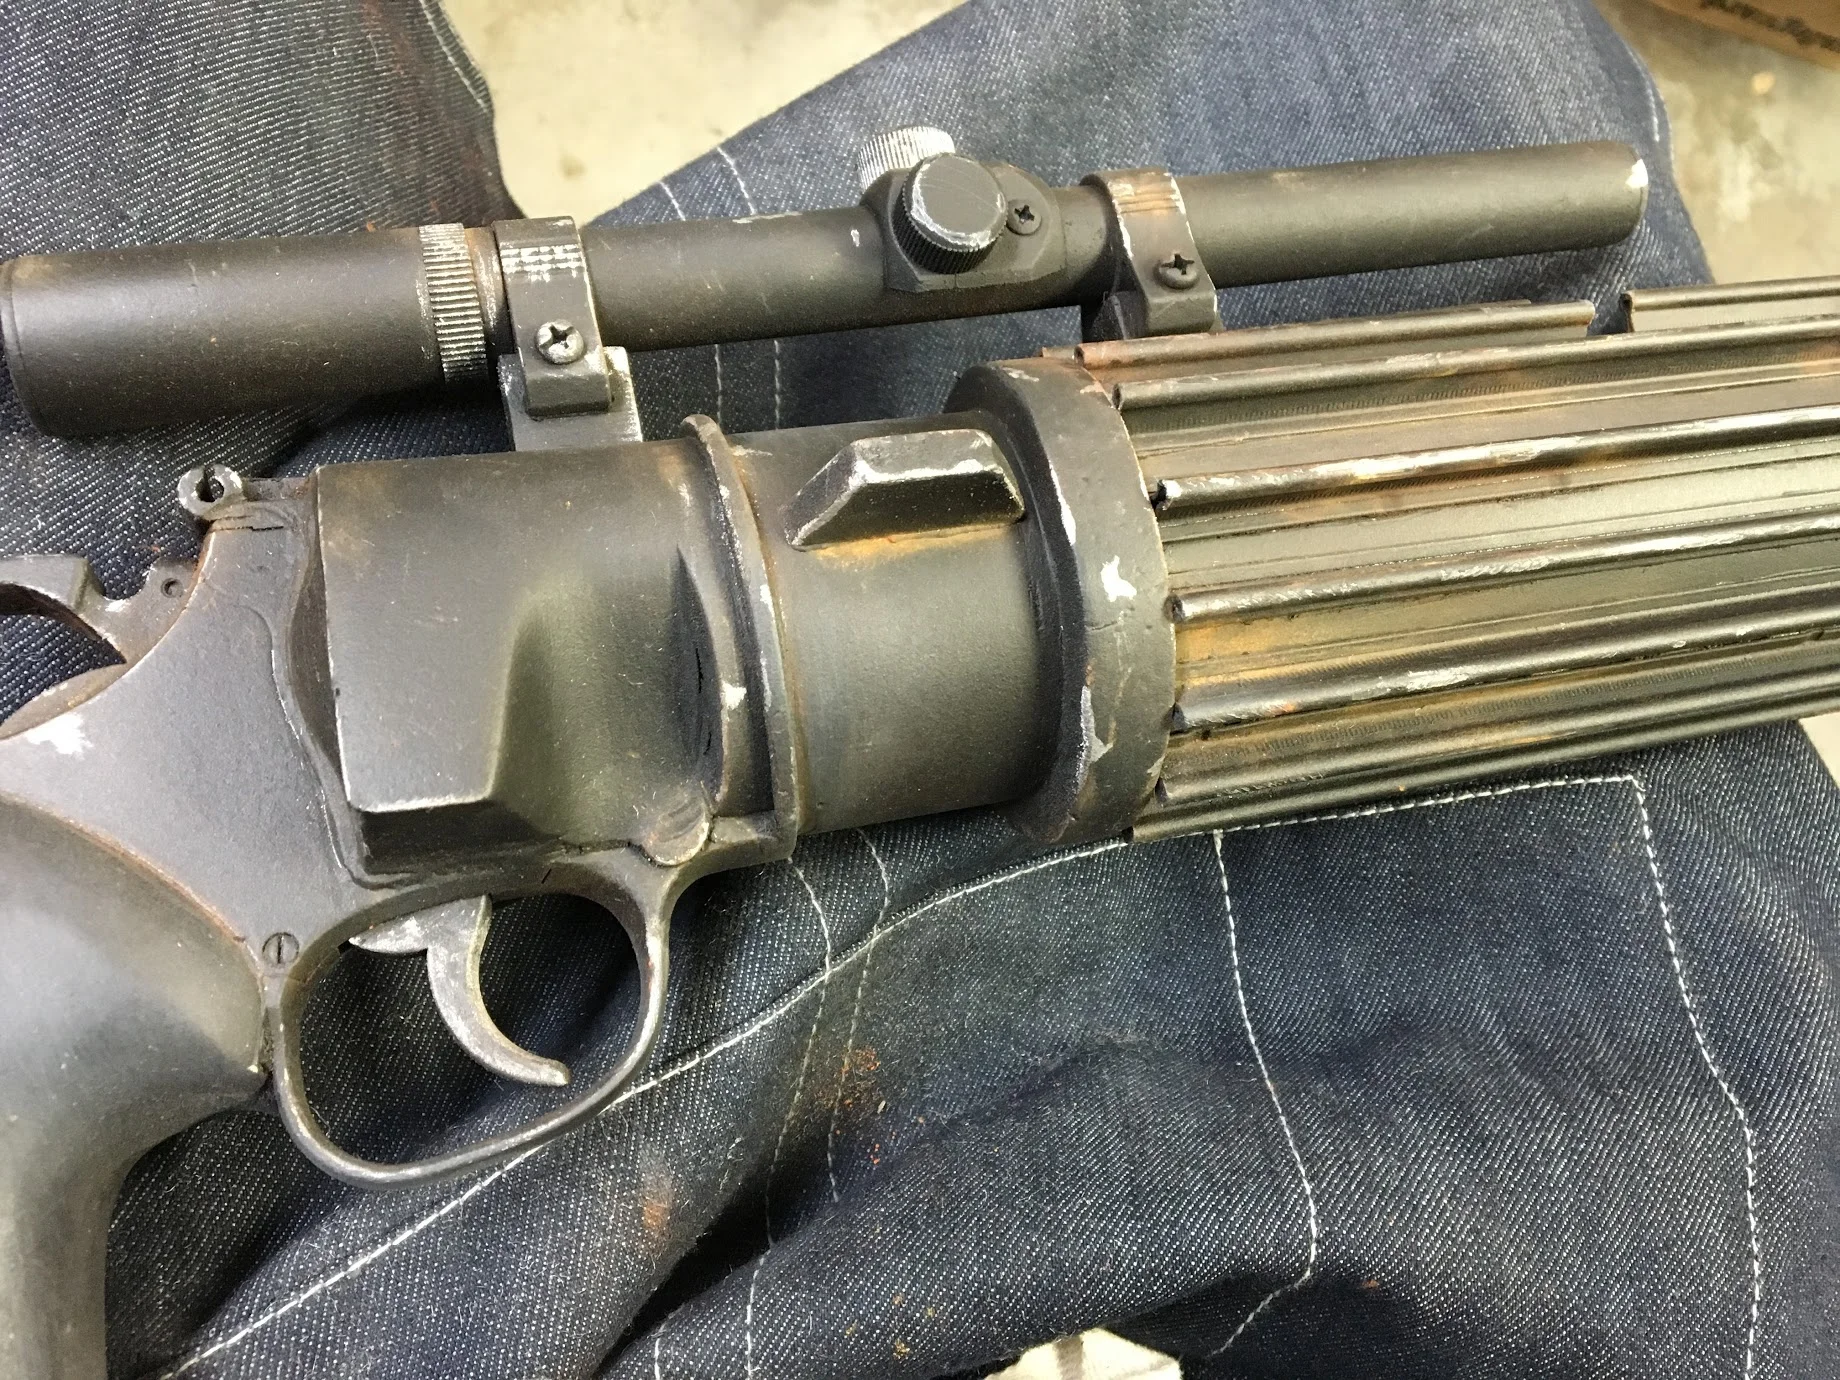
Next I covered the Apoxy Sculpt with Bondo. The original prop makers used a Webley & Scott No. 2 Mark I Flare Pistol (pictured below). After the bondo dried I was ready to start carving with a dremel to replicate the shape of the Webley.


After I got pretty close on the main shape of the body I covered everything in a coat of primer and went to work on the stock.
Eventually I decided to 3D print the stock and extender to save time..

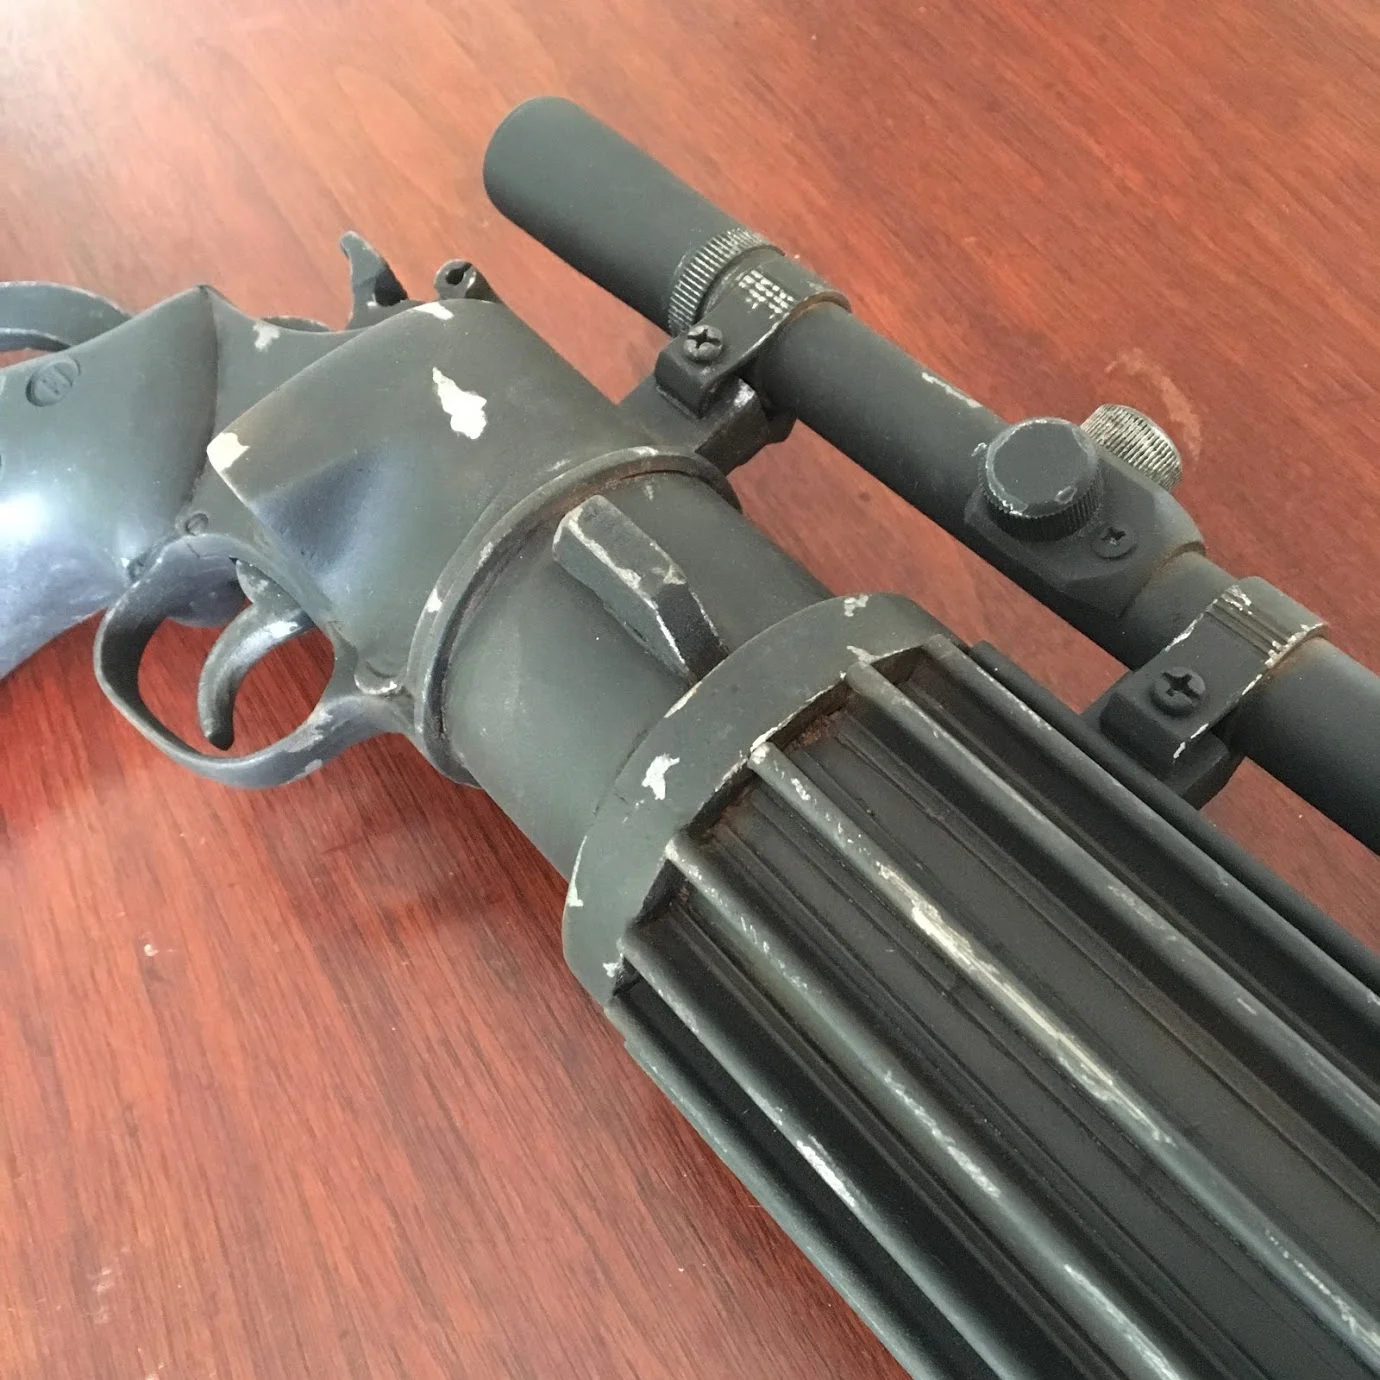
Next came the barrel details. Plastic t-tracks were used on countless Star Wars props. From storm trooper blasters to Lukes lightsaber. Those are not available and in the spirit of a scratch build I decided to hunt down some appropriate replacements.
Turns out H scale model railroad tracks work pretty well in a pinch, and as they say, if you want it to look like metal, use metal. Working in groups of 3 or 4 at a time I spaced out the rails and used a couple rubber bands to hold them in place while the glue dried.

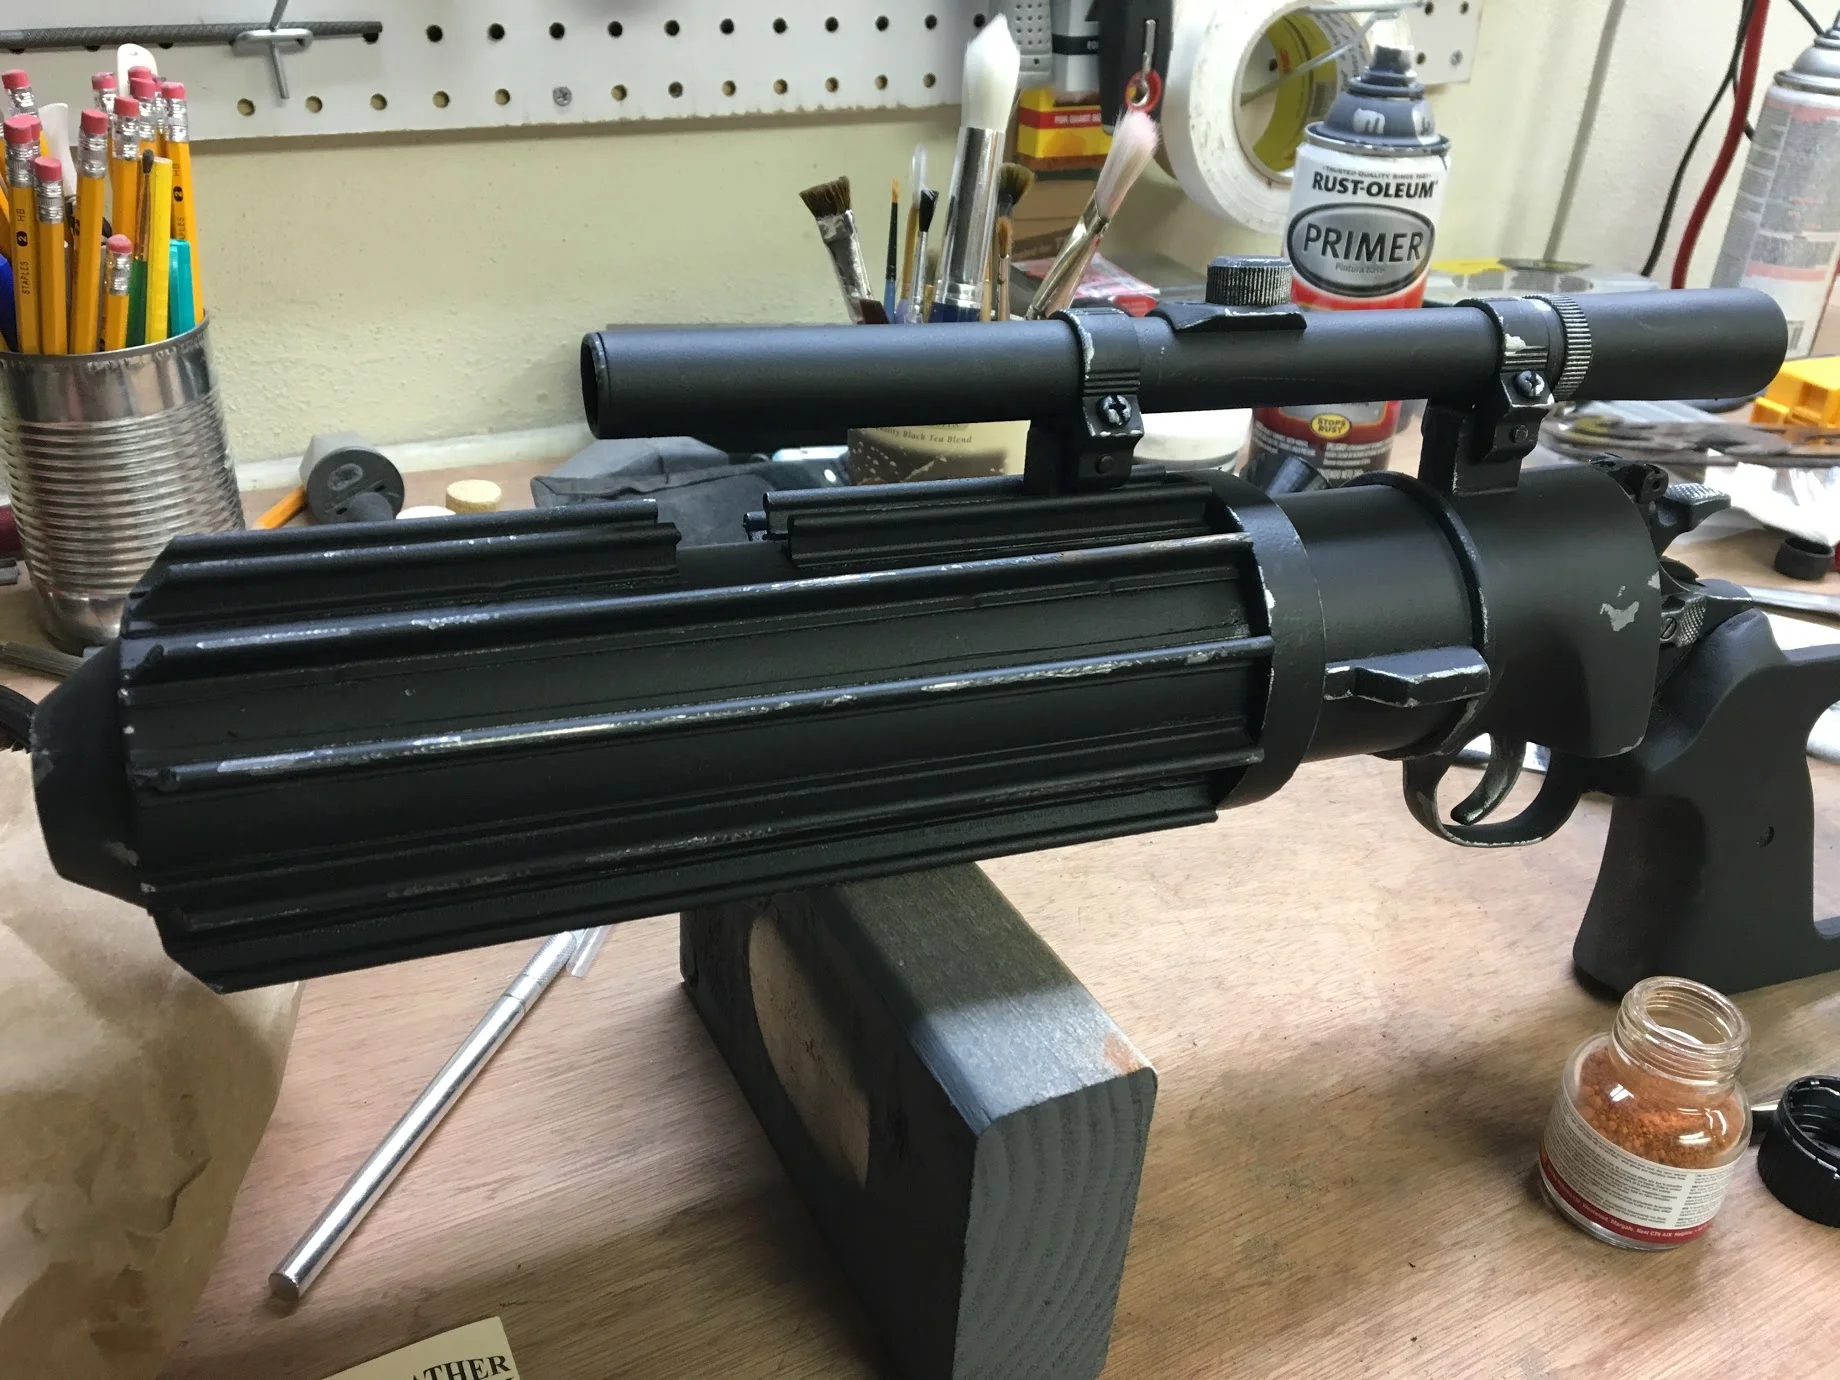
Here I am gluing the printed stock and extender. After a little more bondo to smooth out the attachment I glued on a store bought scope, added a couple of greebles, and it was ready for paint. (Ironically you can see the original 3D printed rifle parts I decided not to use. It became obvious that sanding and prepping the surface would take longer than just building it)
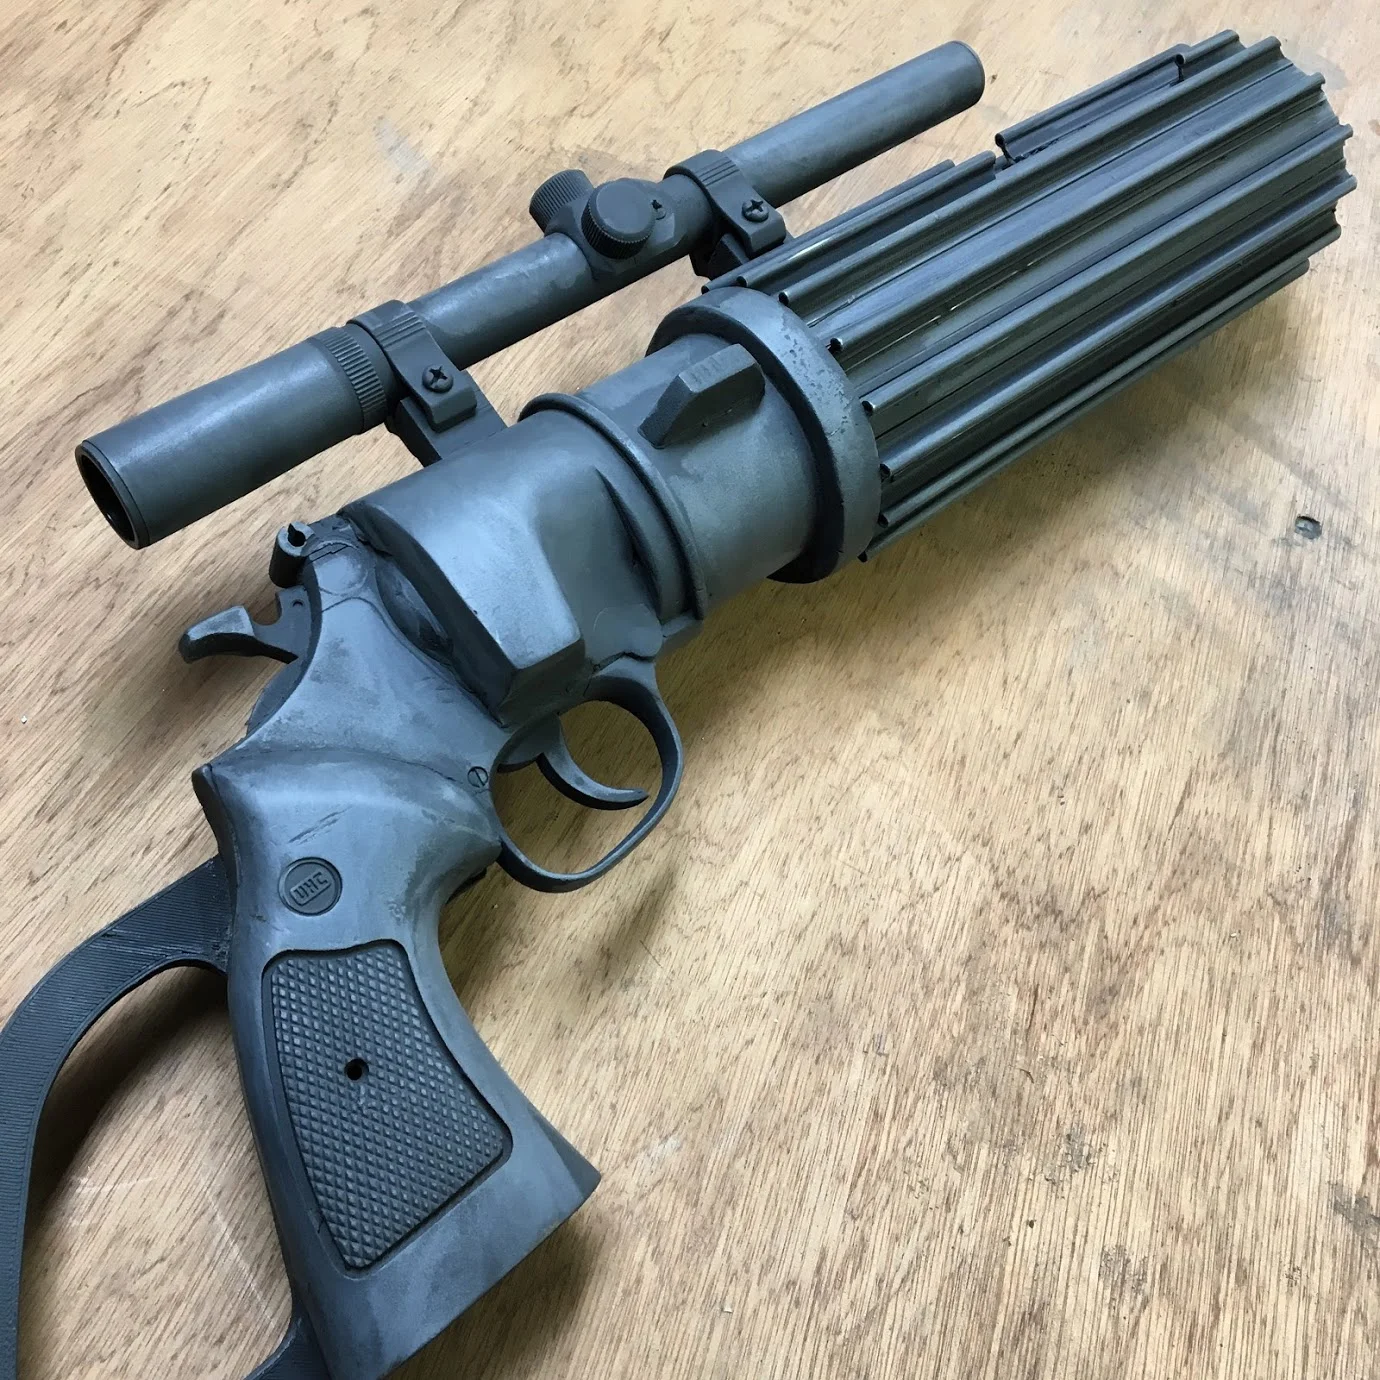
After a couple coats of paint and primer I started to add weathering. Since the rails were metal I could really ding, scuff, and scratch them, trying to replicate areas that would receive more wear than others. I finished things off with some rust powers and dullcote to give it the final touches.